The automation editor
The editor lives under Automations in the Studio navigation. An automation opens as a document with three panels: Setup (name, description, trigger), Steps (the flow, as a numbered list or a graph), and History (versions).
Build one in ten steps
This walks through the support desk triage automation as you would draw it yourself. The finished YAML is in the example.
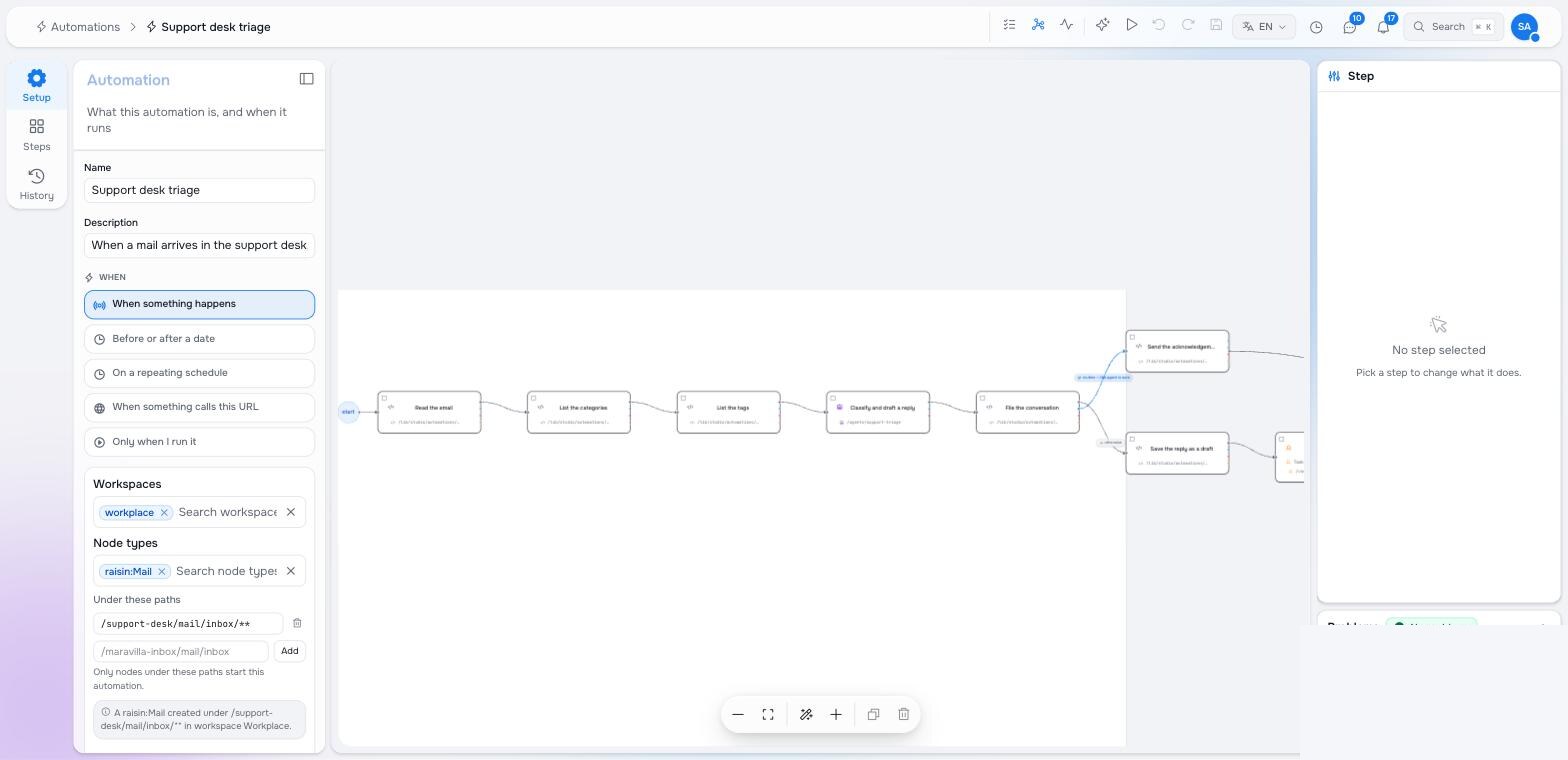
- Create it. Automations → Create → Automation. Give it a name that says what it does: "Support desk triage".
- Pick the trigger. In Setup choose When something happens. Workspace:
workplace. Node types:raisin:Mail. Under these paths: your mailbox's inbox folder — the editor appends/**. On: Created. - Add the first step. Open Steps. The palette on the left lists the library ("Send an email", "Read an email", "Update a node", …), the agent steps and the control steps. Click Read an email. Its arguments already point at the subject — the mail that fired — because library steps carry subject defaults.
- Add the lookups. Click the + under the step and choose Find nodes: workspace
taxonomy, node typestudio:Term, under/support. Add a second one fortags. These give the agent the desk's own vocabulary so it can only pick what exists. - Ask the agent. Add Ask an agent, pick the agent, and write the instruction. Wherever you need a value, click Insert… and pick it: the mail's body, the conversation so far, the attachment text, the category listing. Under What it must return define the answer's fields: category, tags, priority, summary, reply, and a yes/no "safe to send".
- File it. Add Triage a conversation. Its arguments form is generated from the step's schema; fill category, tags, priority and the note from the agent's answer with Insert….
- Branch. Select the filing step and click Add a branch. Choose Reply to an email with Send it on, and give the connection the condition
steps.classify.structured_output.auto_reply == true— Insert… offers the field. The plain next connection is the "otherwise" arm. - Draft and ask. On the otherwise arm add Reply to an email with Send it off (a draft), then Ask a person: assignee, kind Approval, the prompt (Insert… the summary and the suggested reply), and two choices: "Send the reply" →
send, "Leave the draft" →keep. Set a deadline. - Send on approval. From the person step add a branch with the condition
steps.review.action == 'send'to a last Reply to an email, this time with Queue this draft instead pointing at the draft step's outbound node, so the same draft is sent rather than a second copy. - Check, save, switch on. The Problems panel is empty when the automation compiles. Save. The automation is off until you flip Active at the top of the Steps view.
The two views
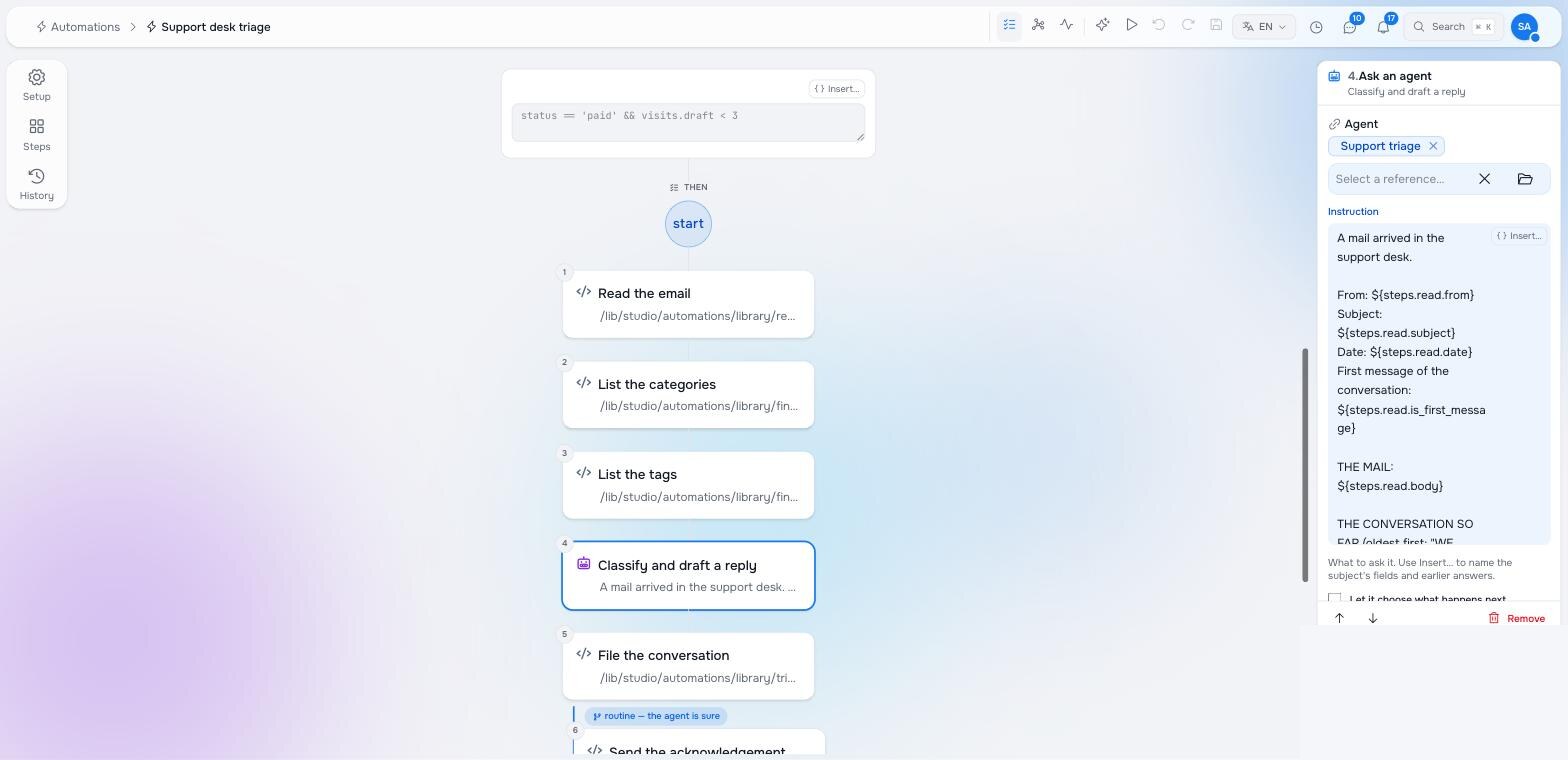
Steps is a numbered list, top to bottom, with branches shown inline as nested lanes and a loop shown as a back-reference. It is the view for reading and for adding steps in order: every + between cards inserts there and wires the connections for you.
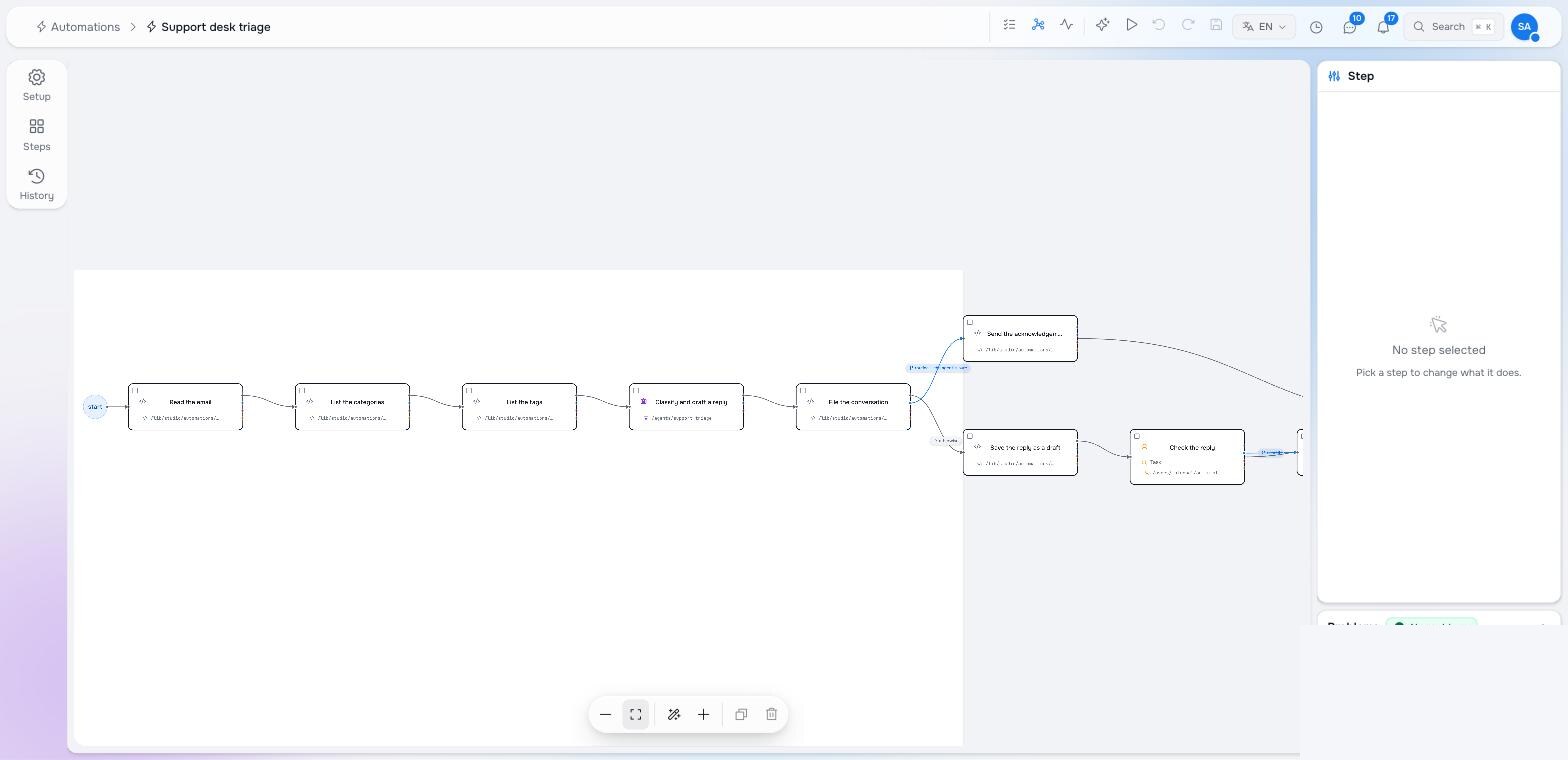
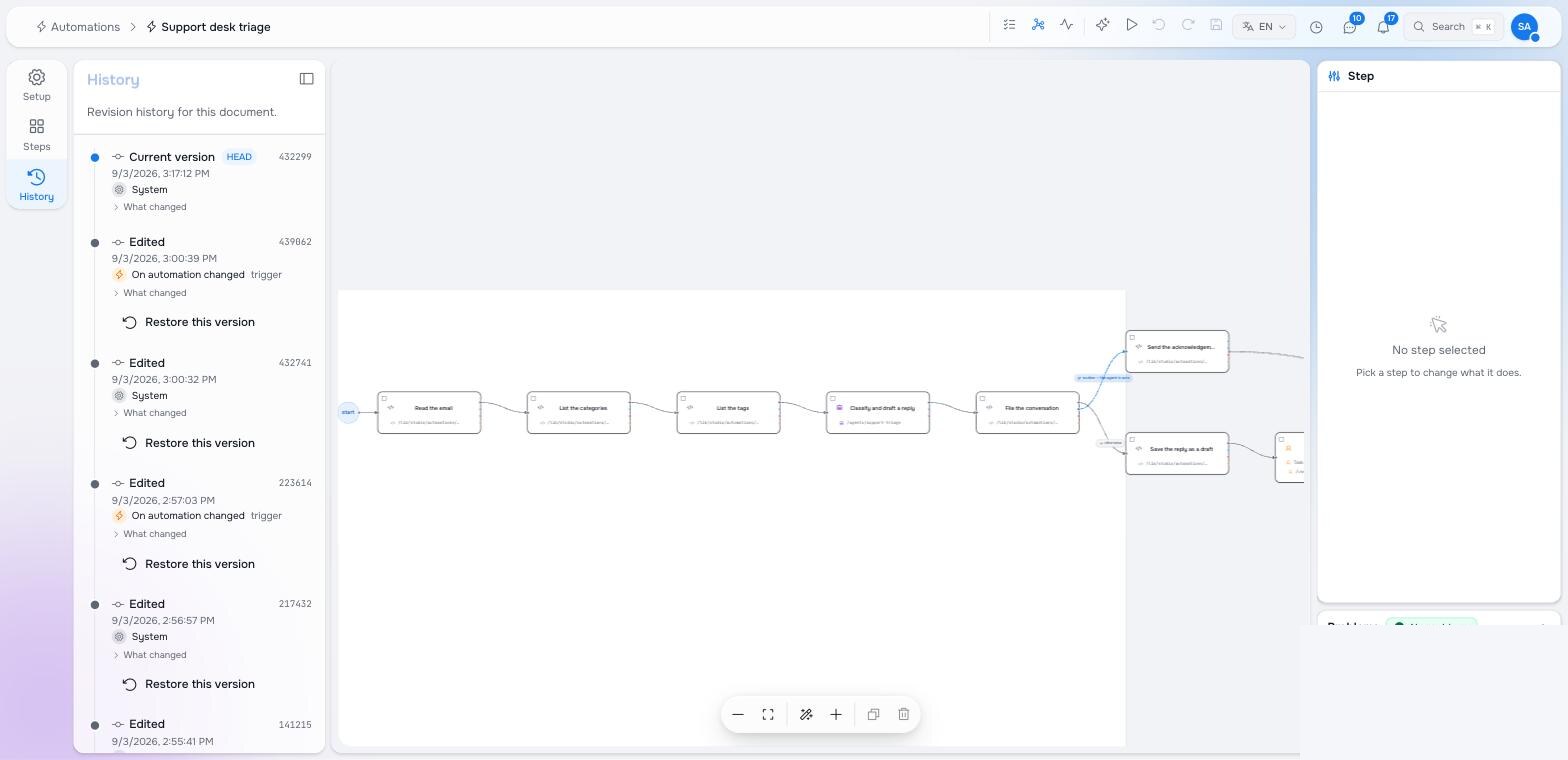
Graph is the same automation as boxes and lines. Drag a card to move it, drag from a card’s output handle to another card to connect them, click a line to edit the connection. Loops are drawn as routed lines below the cards so they never cross the forward flow. The toolbar fits, zooms and tidies the layout.
The inspector
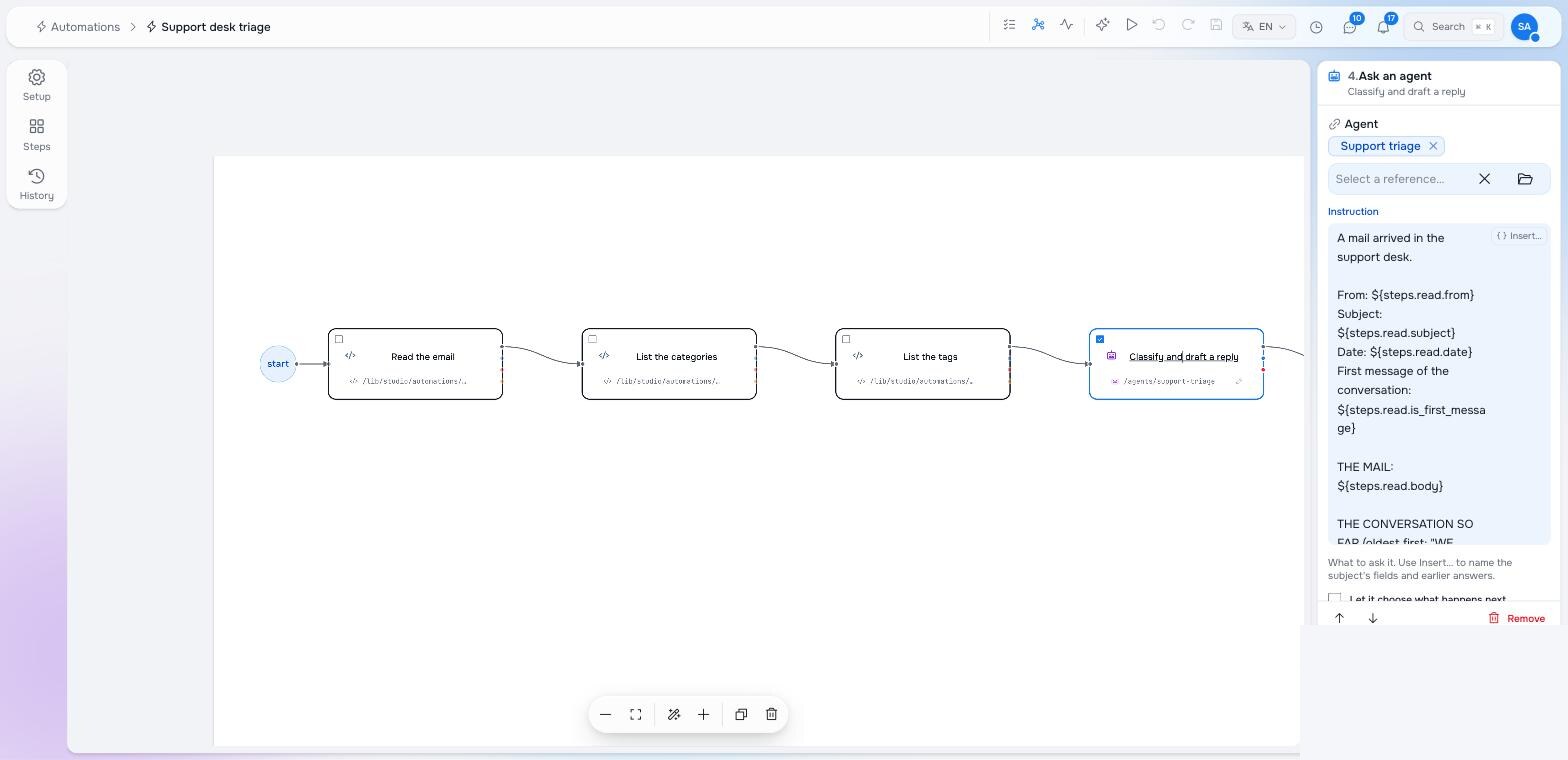
Selecting a step opens it on the right. Every step kind has its own fields; three controls recur:
- Template fields (an instruction, a prompt, a task description) have Insert…. Whatever you insert is written as
${…}and rendered when the run reaches the step. - Argument forms for function steps are generated from the function’s input schema: required fields first, the right control per type, a JSON editor for objects.
- “What it must return” on an agent or chat step is a small schema builder: field name, type, title, required. The fields you define are what later steps can Insert.
Selecting a connection opens its own inspector: its kind (next, if, on error, on timeout), a label, and, for an if, the condition — or, when the source is an agent that chooses, the sentence the agent reads.
Problems
The panel under the inspector lists what the compiler and the health check found: a step with no function, a branch with no condition, a loop with no exit, an error path without a timeout, a template that names a step that does not exist. Clicking a problem selects the step. An automation with errors does not compile and cannot be switched on; warnings compile but are worth reading.
Running and history
Run now at the top of the editor starts a run with a subject you pick — the way to test an automation without waiting for the real event. The run then behaves exactly as a triggered one: tasks land in the Inbox, agents are called, the outbox fills.
History lists every saved version with who saved it and what changed, and restores any of them. Automations are versioned content like pages.
Agents
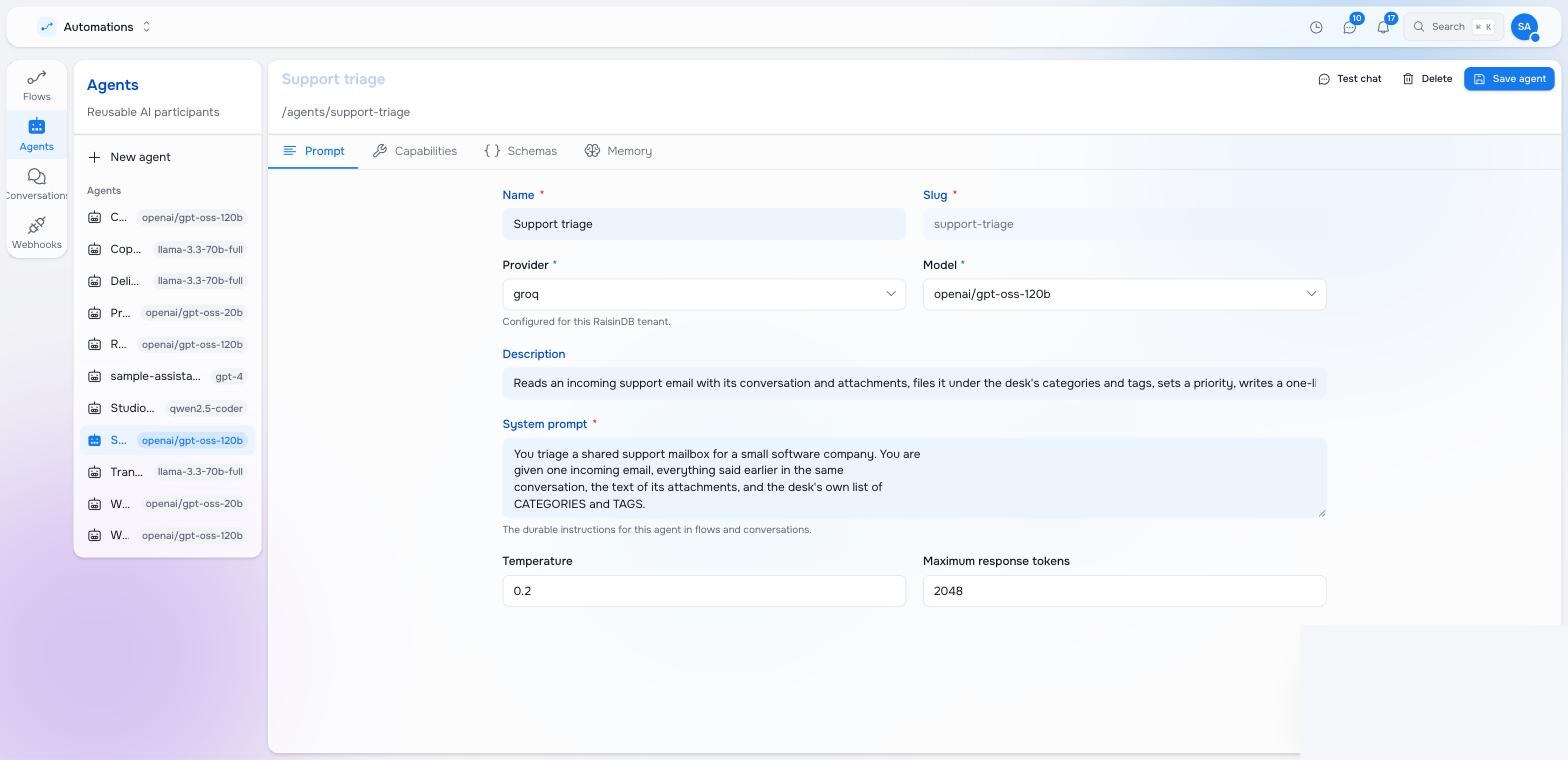
Agents are managed under Automations → Agents: name, provider and model (from the tenant’s configured providers), system prompt, temperature, and the tools it may call. The same agent can be used by any number of steps and by conversations.
Pilot documentation. Studio is in a partner pilot. Screens and YAML shown here are current as of the version noted on each page; tell your Maravilla contact when something does not match what you see.